Foreword
This guide will walk you step by step through the installation and configuration of our translation solution.
The Reversia technical team handles the entire technical setup.
We work together with you, your agency or your developers depending on the needs of the project. Feel free to reach out to us at any time: we are here to ensure a smooth, hassle-free integration.
Technical compatibility
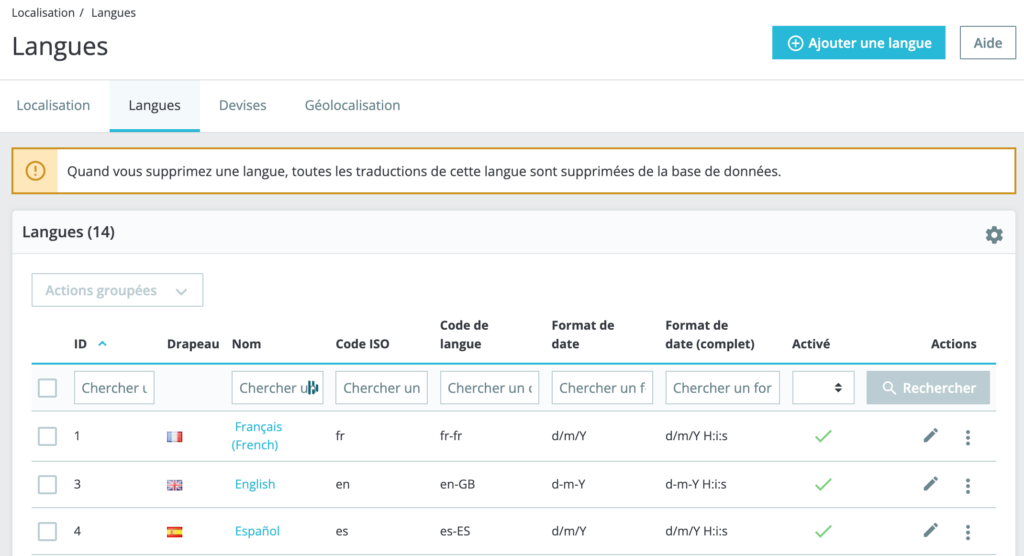
Reversia is compatible with PrestaShop from version 1.7.6 up to the latest available version.
Our solution works in both multilingual mode and multistore mode, giving you maximum flexibility for your international strategy.
Whitelisting our IP (IMPORTANT ⚠️)
Throughout the project, you must whitelist our fixed IP address without fail.
Please ask your hosting provider or the person who manages your server to do this.
Here is our fixed IP: 34.140.252.103
This IP must be allowed on all of your protections:
- .htpasswd file (password protection)
- Cloudflare or any other firewall/CDN
- PrestaShop maintenance mode
- Web Application Firewall (WAF)
- Any other access restriction on the back-office or API
Without this authorization, Reversia will not be able to communicate with your store.
Step 1: Exporting the front-office modules
To get started, we need to retrieve the list of modules displayed in the front-office (visible to your end customers). The back-office modules do not need to be translated.
Procedure:
- Log in to your PrestaShop back-office
- Navigate to Improve > Modules > Module Manager
- If the Reversia module is not installed yet, click "Install the module"
- Once installed, click the "Configure" button on the Reversia module
- Click the "Export modules" button
- Select only the front-office modules that will be visible to your end customers. Don't worry if you miss a few modules, we can integrate them later
- Click "Export selected modules"
- Send the export file to the Reversia team
Step 2: Technical integration by Reversia
Our technical team will now integrate your modules into the Reversia platform. This step is handled entirely by us.
Reversia's strength
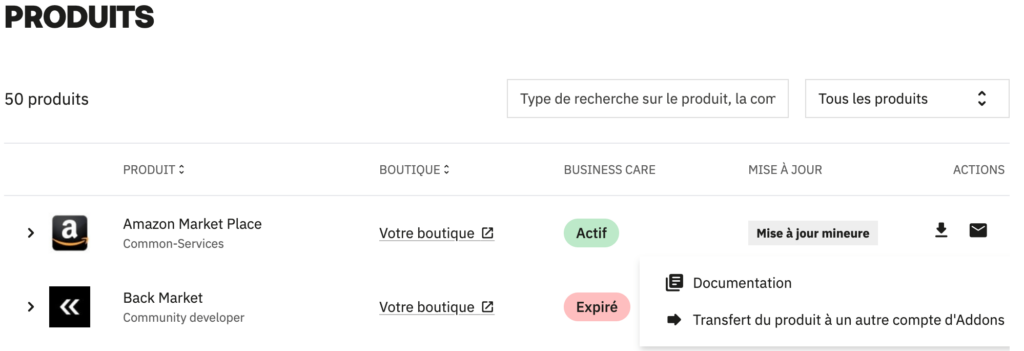
We regularly come across modules that do not follow PrestaShop's translation standards.
This is in fact the case for the vast majority of modules on the market.
Our expertise lies precisely in making these modules fully compatible with translation, whatever their origin:
- PrestaShop Addons Marketplace
- Modules developed by agencies
- Modules from independent developers
Reversia handles all of this technical integration. If necessary, we reach out to your agency, your developers or your team directly to obtain additional information.
You have no action to take during this step.
Step 3: Testing phase in pre-production
Important reminder: IP whitelisting ⚠️
Before starting the tests, check that our IP 34.140.252.103 is properly whitelisted on all of your protections (htpasswd, Cloudflare, PrestaShop maintenance mode, WAF etc.). Without this authorization, the tests will not be able to work.
Goal of the tests
At this step, we verify that Reversia is able to:
- ✅ Retrieve the content of your store
- ✅ Translate it with quality
- ✅ Insert the translations correctly
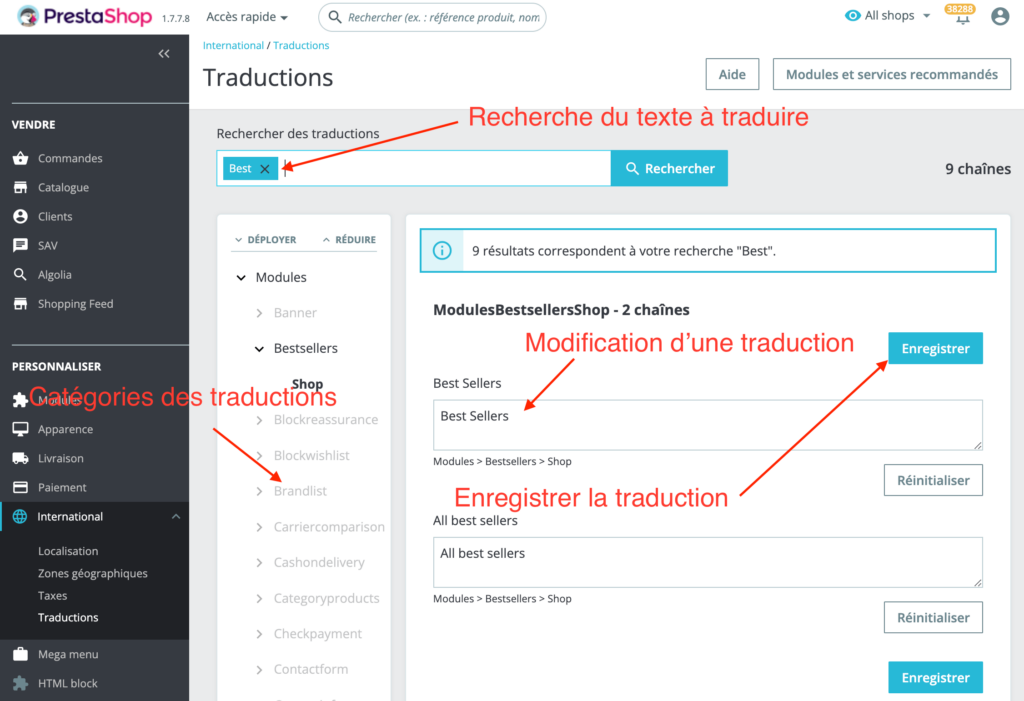
The tests cover a representative sample of content: products, categories, and module translations.
Once all the tests are validated, we move on to going live.
Step 4: Going live
Important: No new onboarding!
You do not need to go through a full onboarding again. Carefully follow the instructions below to simply change the module's configuration settings from pre-production to production.
Procedure:
- Install the Reversia module on your production environment. Go to Improve > Modules > Module Manager
- Install the Reversia module if it is not already done
- Click the "Configure" button
- Configure the connection with your Reversia project. Click the "Debug" button (top right)
- Click the "Settings" button (top right)
- You must now enter the API key of your Reversia project
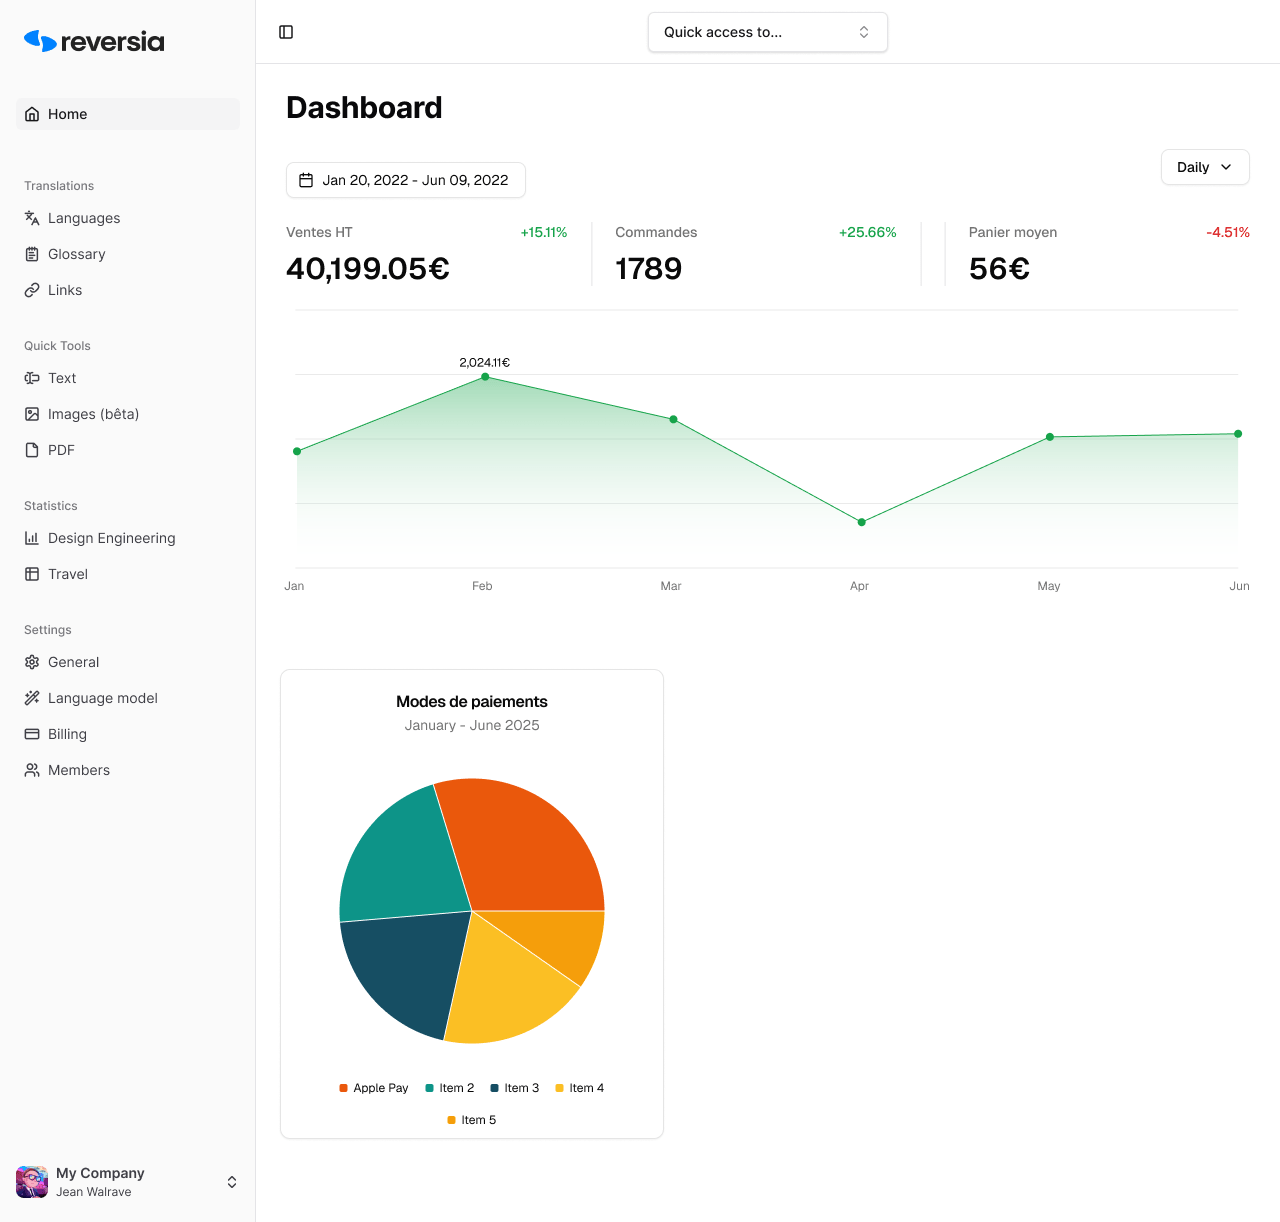
- Retrieve your Reversia API key. Log in to your Reversia back-office
- Go to Settings > General
- Select the "Communication and security" tab
- Copy the API Key (⚠️ be careful not to confuse it with the secure cookie)
- Finalize the configuration. Paste the API key into the field provided in your PrestaShop module
- Save
That's it! The production configuration is now operational.
Step 5: Launching the full translation
Reversia is now configured and can translate then automatically insert all of your PrestaShop store's content into the desired languages.
What's next
- New front-office modules? If you install new modules visible to your customers, export them using the procedure described in Step 1 and send them to us.
- Permanent whitelisting: Remember to keep our IP 34.140.252.103 whitelisted on all of your protections (maintenance mode, Cloudflare, htpasswd, etc.) to ensure the continued proper functioning of Reversia.
Support
The Reversia team remains at your disposal throughout the process and beyond. Feel free to contact us if you have any questions or need assistance.
Welcome to the international adventure with Reversia! 🌍