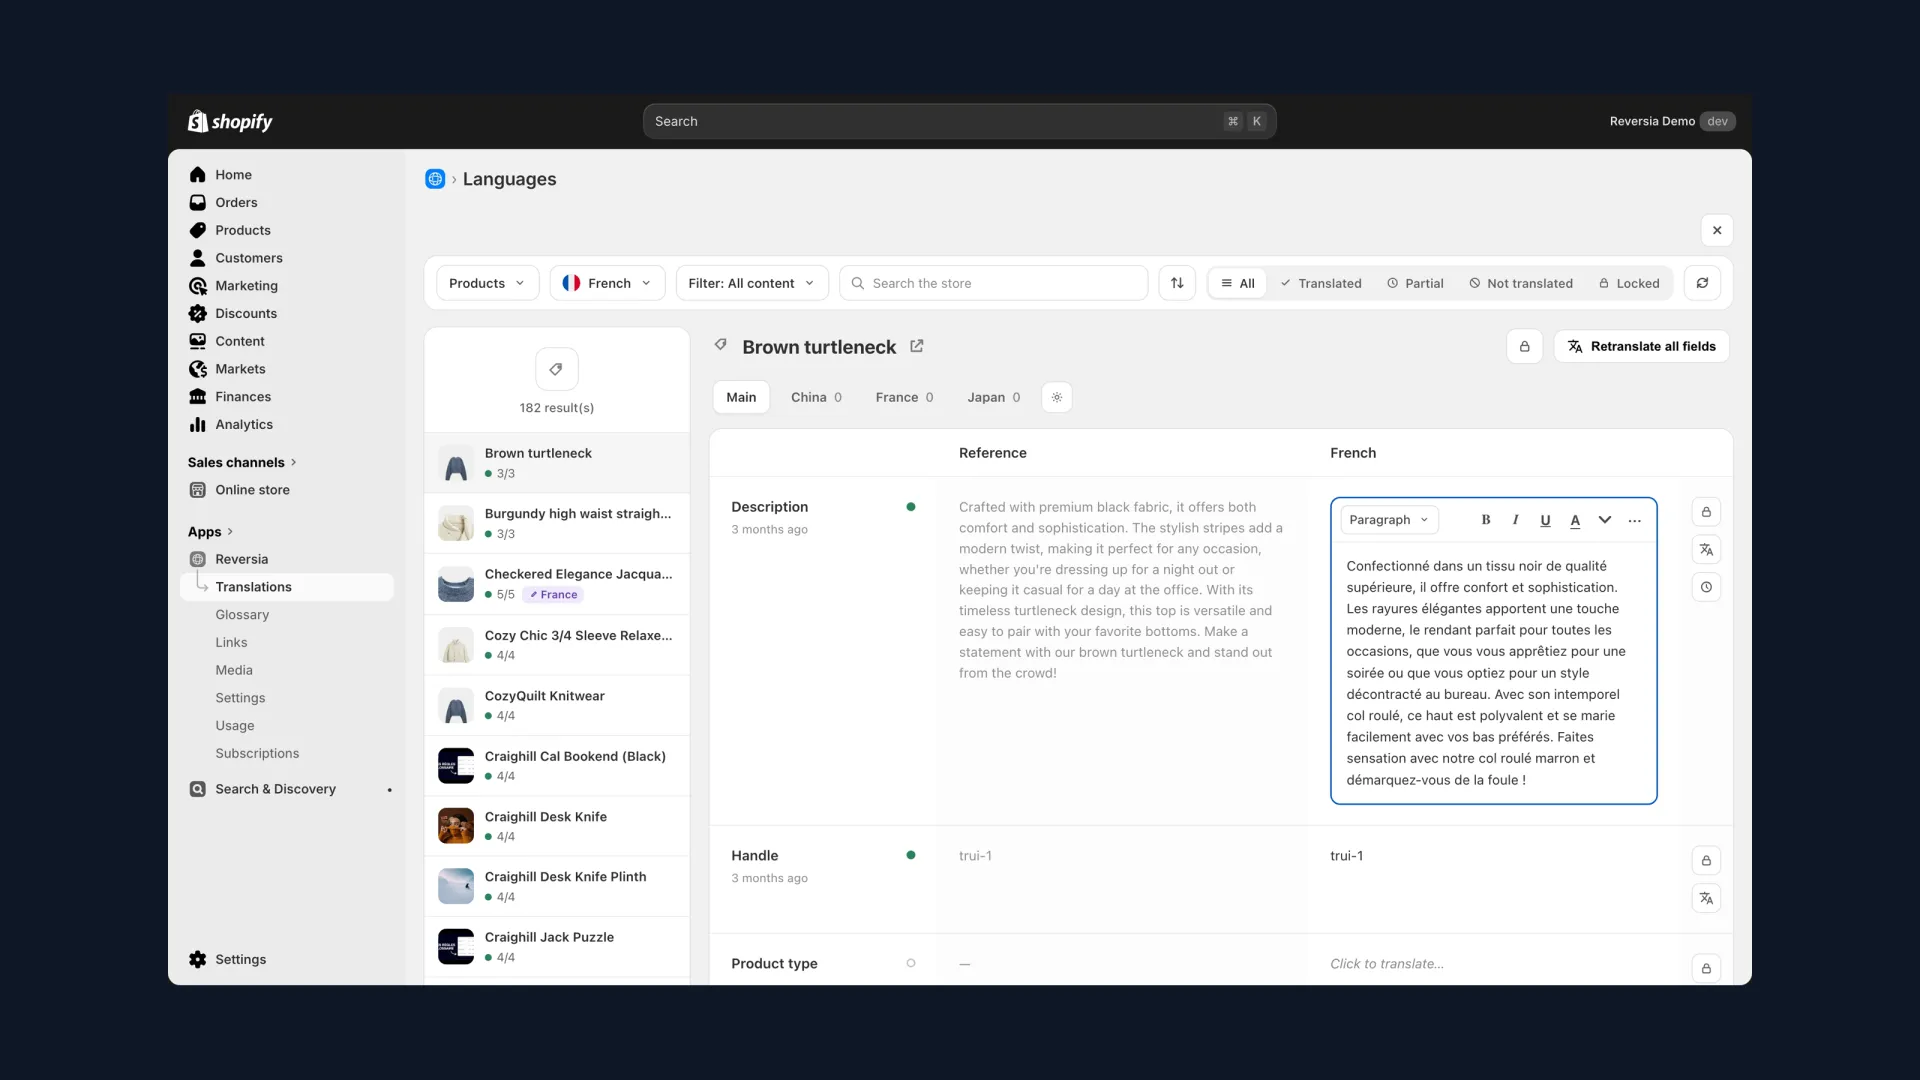
You added a custom feature to your Shopify theme - a reassurance banner, a legal note, a bespoke block. And when translation time comes, its text is nowhere to be found in Translate & Adapt.
That's not a bug: a string hardcoded in Liquid isn't a translatable resource. Here's the mechanism to fix it - locale files, keys and the « t » filter, with a complete example.
Why your custom text escapes translation apps
Shopify doesn't translate raw HTML: it translates resources. Products, collections, pages, and the theme strings declared in locale files.
- Text hardcoded in a .liquid file is invisible to Translate & Adapt and to every other translation app
- Text passed through a translation key and the « t » filter becomes a translatable resource like any other
- The fix is done once per string, directly in the theme code
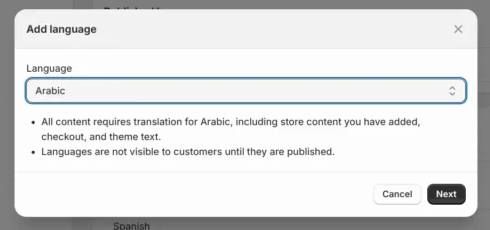
Shopify even warns you when adding a language: « all content requires translation, including theme text ». That text still needs to be declared in the right place.
First things first: add the language in Shopify
If it's not done yet, the target language is declared in the store settings:
- Open "Settings" then "Languages" in your Shopify admin.
- Click "Add language" and pick it from the menu.
- Assign it to one or more Shopify Markets, then confirm.
Translate & Adapt installs itself automatically along the way. Useful reminder: its auto-translation, powered by the Google Cloud Translation API, is capped at two languages; beyond that, everything is manual input.
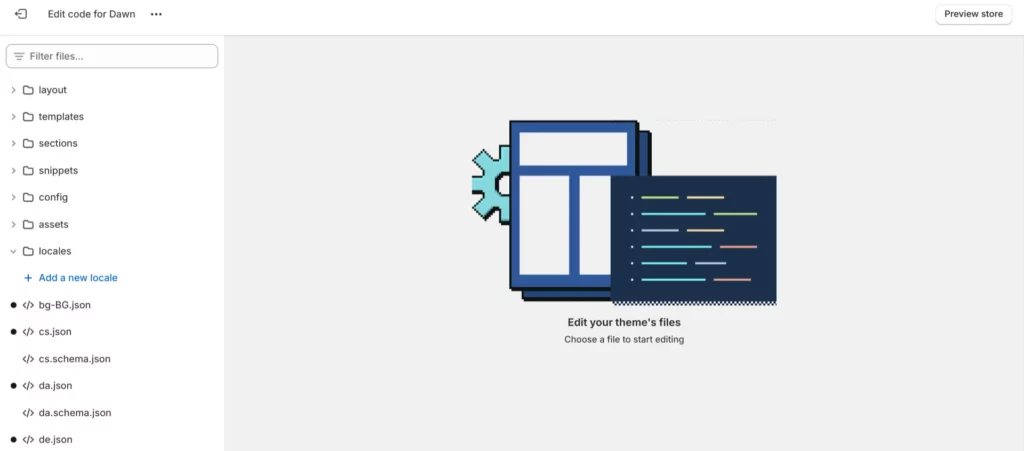
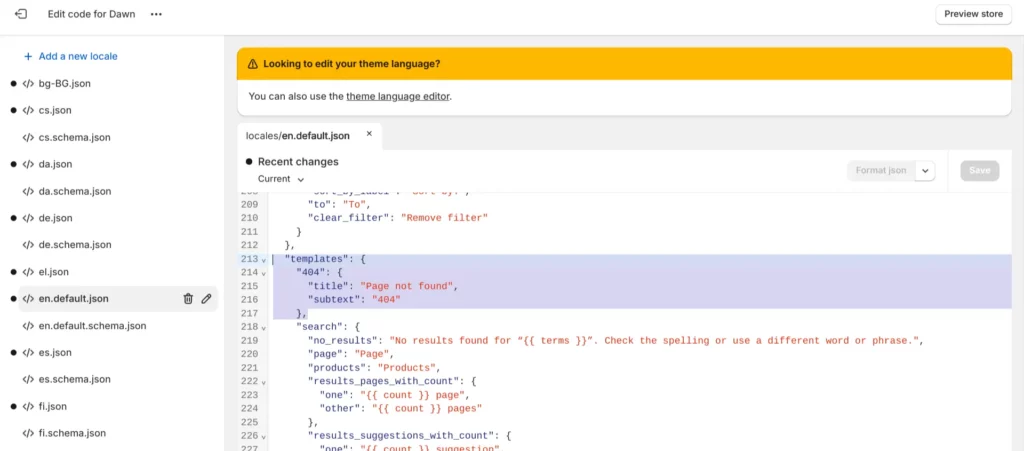
Open the theme's locale files
Two concepts cover everything: locale files, which store each language's translations, and keys passed to the « t » filter, which fetch the right value at the right time.
- In the admin, open "Online Store" then the "⋯" menu next to your theme.
- Select "Edit code".
- The "locales" folder sits at the bottom of the editor's sidebar.
File names follow the IETF convention: « fr.json » for French, « en-US.json » for American English. And mind the two types: .json files drive what visitors see, .schema.json files only concern the theme editor.
Declare the key, then call it with the t filter
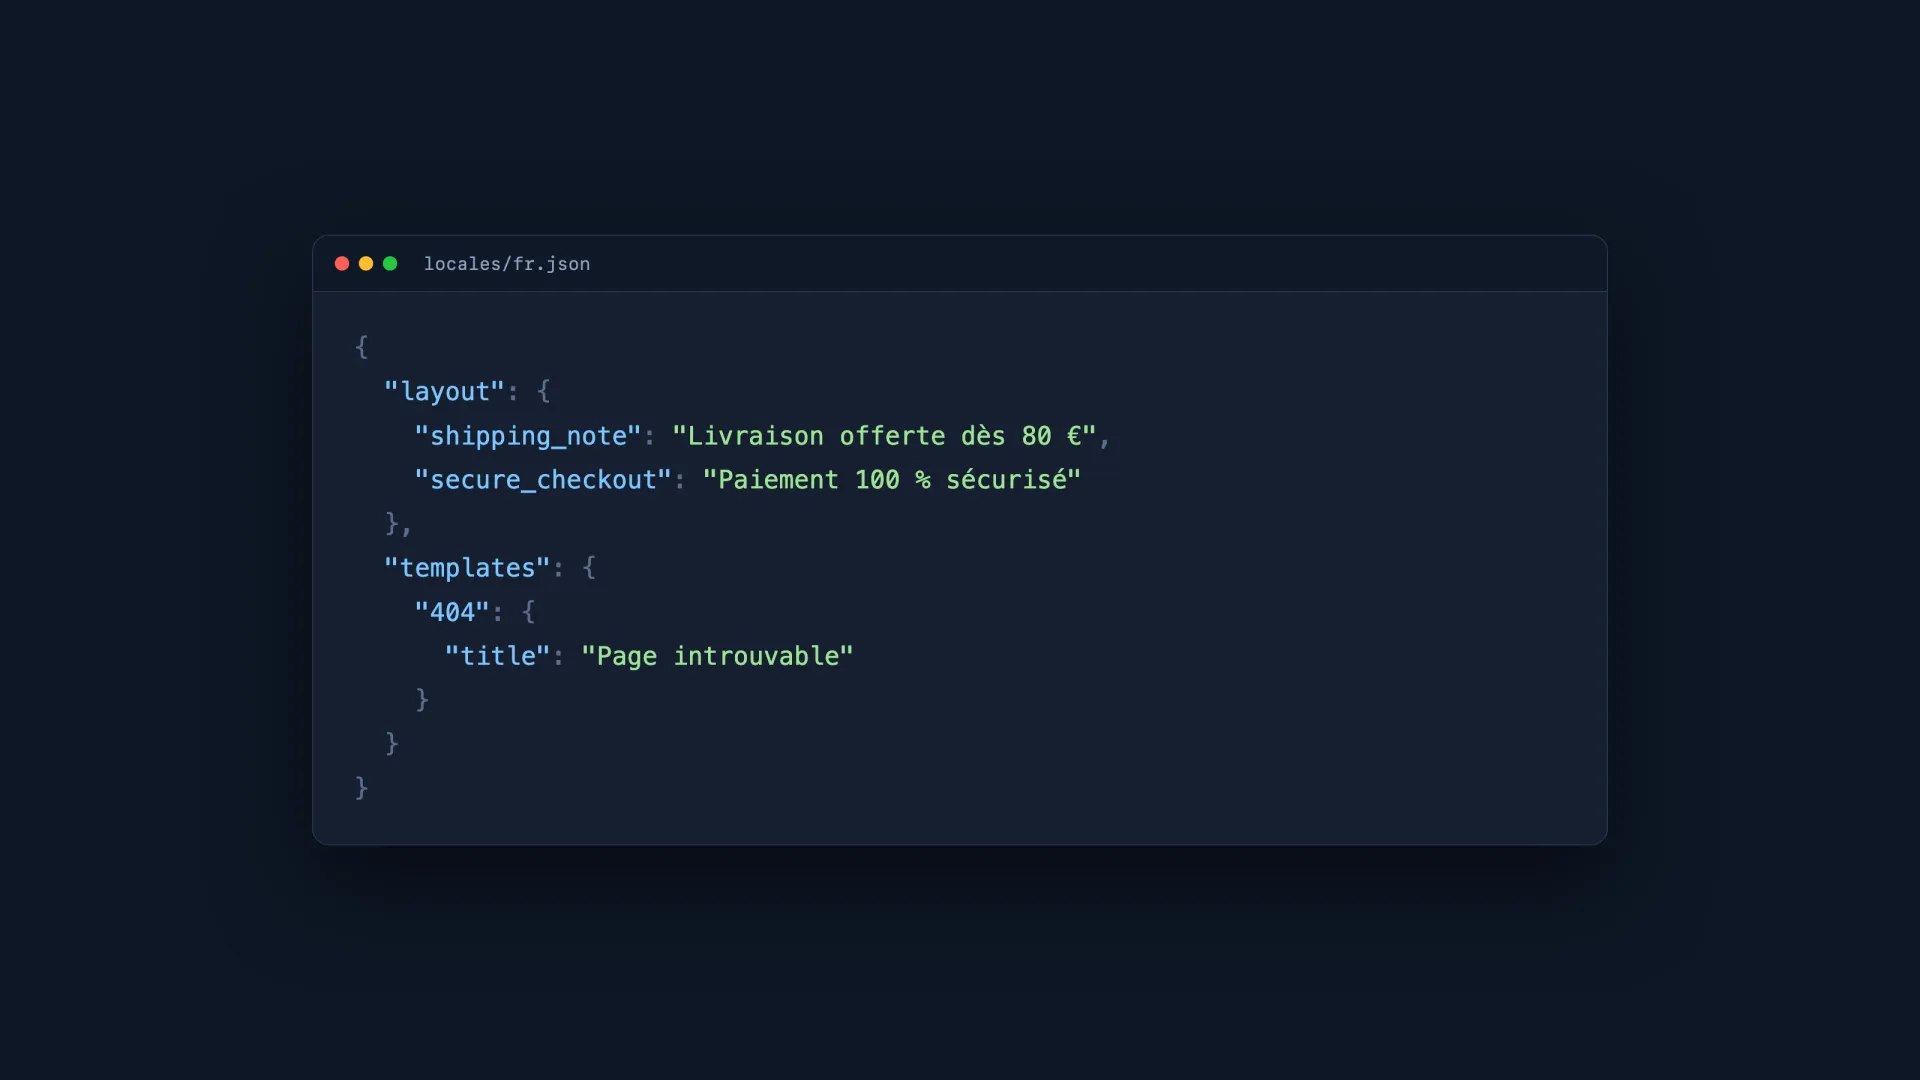
Translations are organised by category, group and value. Take a reassurance banner added by hand to the theme: first declare its string in the default language's locale file.
    json
    "layout": {
  "shipping_note": "Free shipping from €80",
  "secure_checkout": "100% secure checkout"
}
Then, in the relevant .liquid file, replace the hardcoded text with the key passed to the « t » filter:
    liquid
    <p class="reassurance">
  {{ 'layout.shipping_note' | t }} ·
  {{ 'layout.secure_checkout' | t }}
</p>
That's it: the string becomes a translatable resource, visible in Translate & Adapt and in any translation app. Two limits worth knowing: 3,400 translations max per locale file, and 1,000 characters per value.
Automate the translation of those strings with Reversia
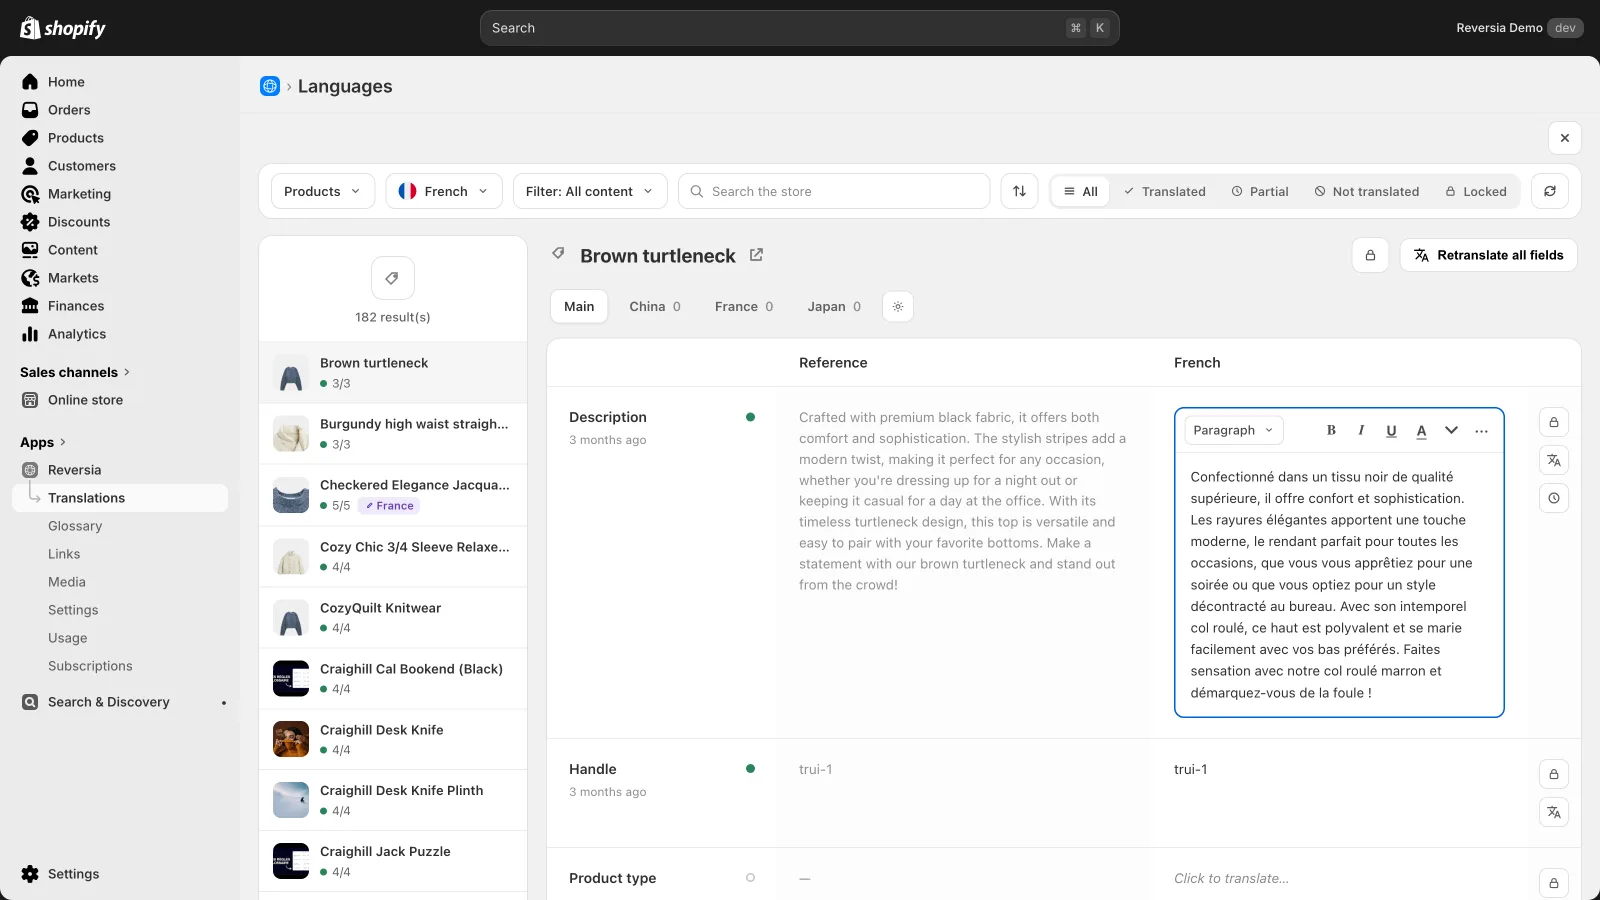
Once your strings are declared in the locales, they still need translating. In Translate & Adapt that's manual input, language by language, field by field. Reversia takes over automatically:
- Theme strings are detected and translated with the rest of the store, in every language
- The glossary protects your technical terms and brand names, precious for coded content
- Every translation stays reviewable and editable in the side-by-side editor, with locking
- Keys added later are detected: the theme doesn't drift out of sync
So the Liquid work is done only once: after that, each new language costs a few minutes, not a full data-entry pass.
What to remember
The reflex to keep: each content type has its own translation path.
| Content type | How to make it multilingual |
|---|---|
| Standard theme text (buttons, 404, cart) | Already declared in the locales, translated by your translation app |
| Custom text hardcoded in Liquid | Declare a key in the locale, call it with the « t » filter, then translate |
| Products, collections, pages, metafields | Native resources, translated directly by the app |
| Settings visible only in the theme editor | .schema.json files, no impact on visitors |
A clean theme is one where every piece of text goes through the locales. That's the prerequisite for automated translation to truly cover 100% of the store.
FAQ: Liquid and theme translation
Why doesn't my custom text show up in Translate & Adapt?
Because it's hardcoded in a .liquid file. Only strings declared in locale files and called through the « t » filter are translatable resources.
What's the difference between a .json and a .schema.json file?
The .json files hold the storefront translations, what your visitors see. The .schema.json files only translate the theme editor's labels, admin side only.
Are there limits on locale files?
Yes: a maximum of 3,400 translations per file, and 1,000 characters per value. Plenty for a theme, but worth knowing before storing long content there.
Does Reversia translate theme strings?
Yes. Any string properly declared in the locales is detected and translated automatically into all your languages, with the glossary and brand prompt applied.